Backing up has been made so much easier in Windows 7. Now if you are running a Windows 7 PC, you can create and save a “System Image” (captures the current state of the system as it is) is pretty much simple and you don’t even need any third party tools like Ghost. A Windows system image will let you to quickly revert back to the state when the image was prepared. This is pretty much useful if your system crashes in future. It is always best practice to take create a system image when you install a fresh copy of Windows 7 and customise it by adding some important programs. Don’t try to add too many, as it would finally increase the file size of the system image. Let’s look into the details about how to create a system image in Windows 7.
Important: Before start, make sure that you have a safe external storage device to store your image. Although you can use another drive of the same disk, in case of a disk failure, you might loose this image as well. Also note that Windows 7 can only save system image on a storage device which is having NTFS file system.
Steps:
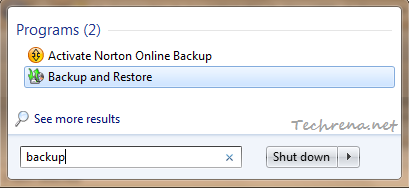
1. Go to Start Menu, type “backup” in the search box and click “Backup and Restore” from the search results under “Programs” section.
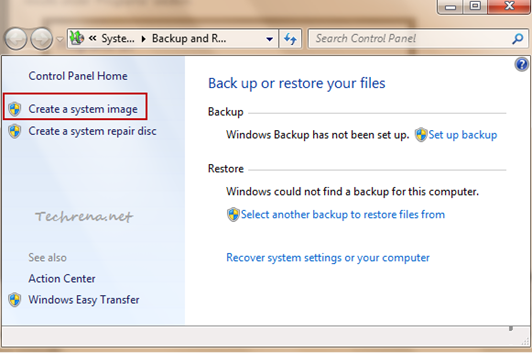
2. In the Back and Restore window, click “Create a system image” link that can be found in the left hand pane of the window.
3. Now Windows will look for the available backup devices and will list them under the “On a hard disk” option.
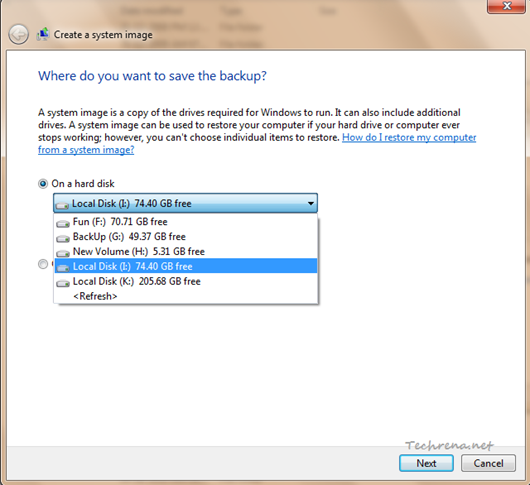
Here you will realise that you can’t select a drive which is not using NTFS file system. An error message will be shown up, “This drive cannot be used to store a system image because it is not formatted with NTFS”.

Also make sure that you have enough space on our backup drive. The system image will consume space which is equal to the total amount of used spaces in the drives selected for the creating an image.
4. Choose the appropriate drive and click “Next” to proceed to the next step.
5. In the next step, you can choose the drives which you want to be included in the backup. By default, all “System” drives will be selected and you have an option to include or not to include other drives. And of course, you can not choose the drive which you are using to save the backup.
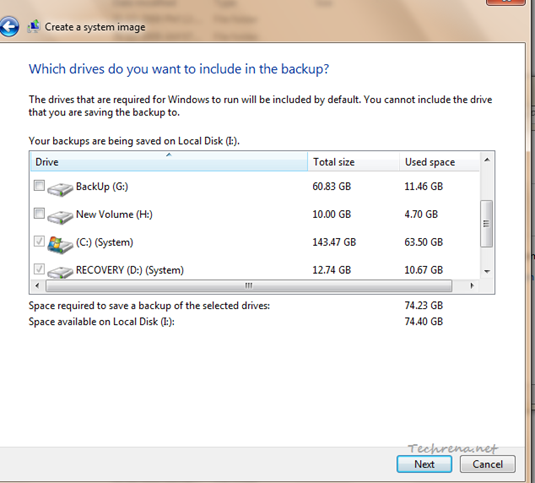
Select the drives and click “Next’ to go the next step.
6. The next window will show the backup location and the drives that you are backing up. Click “Start backup” to confirm the backup settings and start the backup process.
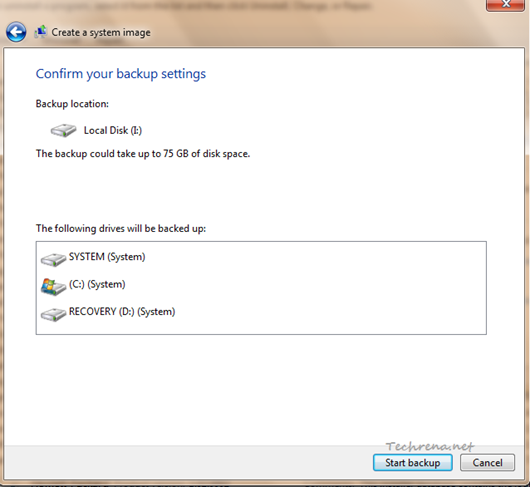
7. Wait for few minutes for the backup process to get completed. You can stop the process at any time by creating the “Stop backup” button in the window.
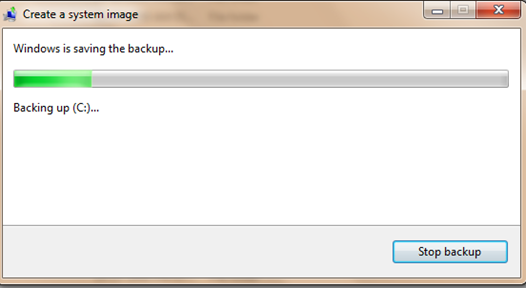
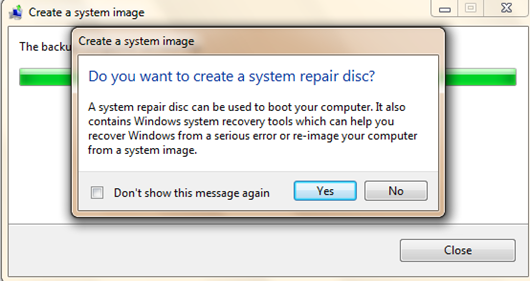
8. Once the process is over, you will be asked to whether to create a system repair disc. It is your choice but we highly recommend that you go ahead and create one.
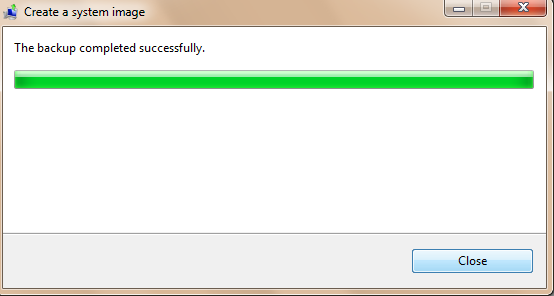
Congrats! You have now successfully backed up your Windows 7 using a system image.
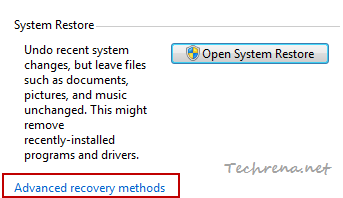
You can use “Advanced recovery methods” found under the “Recovery’ section of Control Panel to restore your computer to an earlier state using the system image that you stored.
