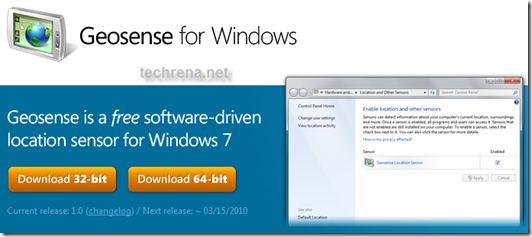
Geosense is a Windows Sensor that uses the Location and Sensors platform in Windows 7 accurately using IP lookup, WiFi and Cell tower triangulation positioning without the assistance of GPS hardware, enabling more practical location-based applications and scenarios on Windows 7.
Today most of the laptops are not equipped with GPS, so the Windows 7’s new Sensors and Location platform is practically not much useful to the users. But with the help of Geosense, we can use this location sensor platform.
Geosense if free to download and it is available for both 32 and 64 bit editions of Windows 7. Please note that Geosense will work only with Windows 7 editions having Location and Sensor platform. For example this functionality is not available for Windows 7 starter. All other higher editions have this feature.
Follow the instructions below to install and use Geosense For Windows.
Step 1: Download Geosense For Windows from the link below. Select your compatible edition while download.
Click Here to Download Geosense for Windows
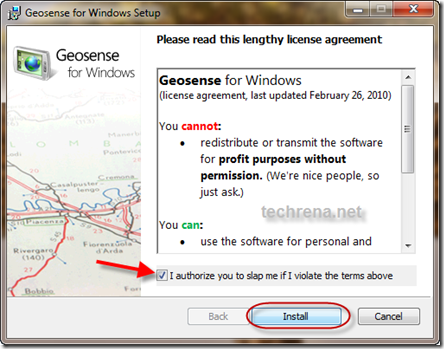
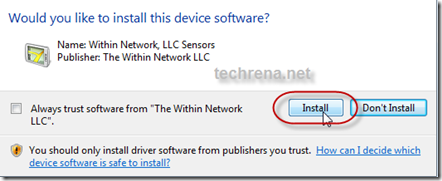
Step 2: Install Geosense for Windows. Accept the agreement, and accept to install the device.
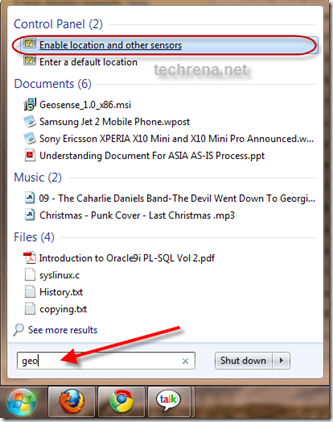
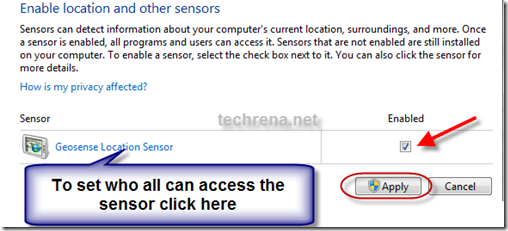
Step 3: After successfully installing the sensor, Click on Start button and type geo in the search box. Click on Enable Location and other sensors.
Step 4: Select the enabled Check Box and Apply.
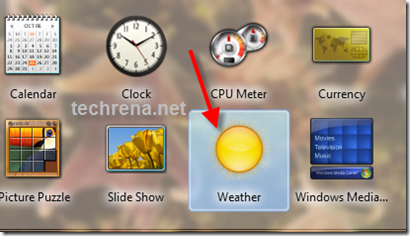
Step 5: Now on the desktop right click, and open Gadgets. Double click on Weather. You can see your location in the Weather gadget as shown.
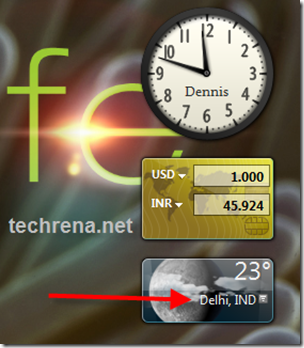
Once you have added the gadget, you can see the Location in the desktop Weather gadget as shown below. My location shown here in Delhi, India.
But the location sensor displaying only the location in the gadget is not quite impressing. As there in not much of Location aware Windows 7 applications, Geosense has made a Google Maps Client Demo to make use of the sensor in a proper way. Hope that in near future we will be able to use this Windows 7 Location sensing feature in a proper way.

reading this weblog’s post to be updated daily.