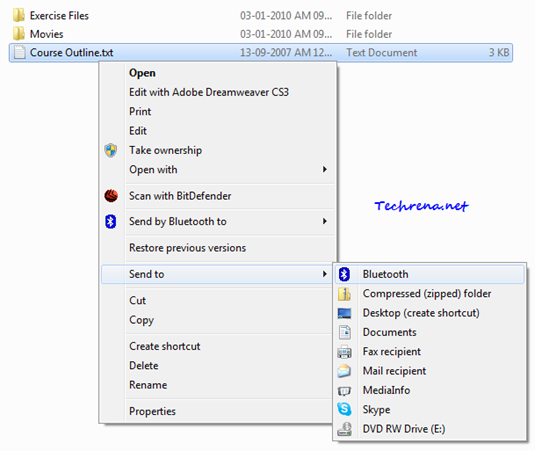
Do you frequently move files to a particular folder or location on your computer? Wish you could have an easy way to quickly transfer a file to that location? Yes, Windows does have a solution for you, in the form of “Send to” menu list found in the right-click context menu of any folder.

This tutorial explains about how you can add or delete items from the “Send to” menu list in Windows 7, Windows Vista and Windows XP.
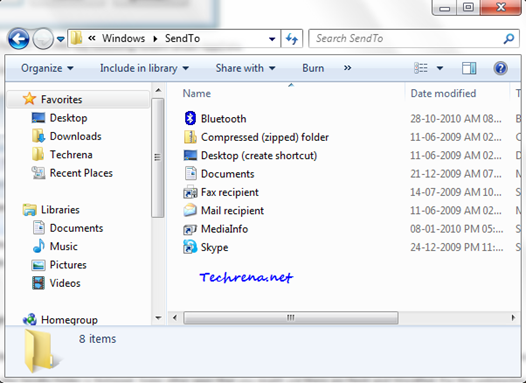
Steps:
1. Navigate to the following folder in Windows:
Windows XP users:
C:\Documents and Settings\(User-name)\SendTo
Windows Vista & Windows 7 users:
C:\Users\(User-name)\AppData\Roaming\Microsoft\Windows\SendTo
Where “User-name” stands for the Windows username with which you are logged in.
2. You will find all the shortcuts that are included in the “Send to” list in this folder. Add whatever shortcut t(program or folder) hat you would like to have it in the “Send to” in the right-click context menu or delete the item which you don’t want to see in the “Send to” menu option.

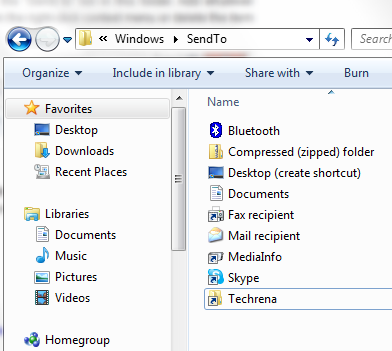
3. For instance, I have added a nee shortcut for “Techrena’ folder inside the “Send to” list as shown:

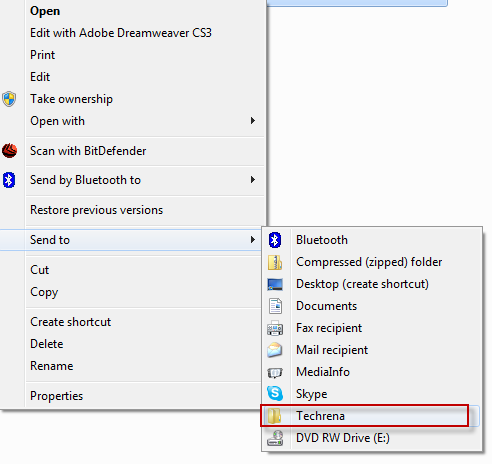
and it’ll appear in the “Send to” list in the right-click context menu as shown:

Isn’t that simple? Now go and play around with the Send to items in your Windows (XP/ Vista/ Windows 7).

enten oprettet mig selv eller outsourcet, men det ser ud til