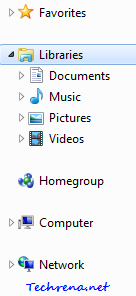
As part of tweaking the Navigation pane in Windows 7 explorer series, we have already discussed about removing “Favorites” from the windows explorer navigation pane. If you don’t use the “Libraries” much, you might also want to hide this from showing up. Now let’s look into how to remove “Libraries” from the windows 7 explorer.
Method-I
Steps:
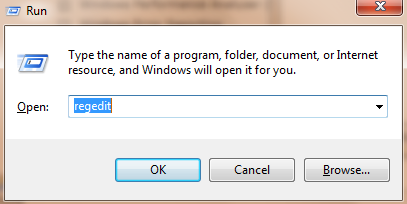
1. Press Start button + R to open the run command bar. Type “regedit” in the filed and hit enter to open the registry editor.
2. Navigate to the following address in the Registry Editor.
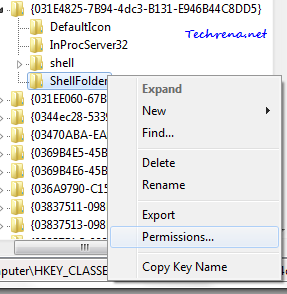
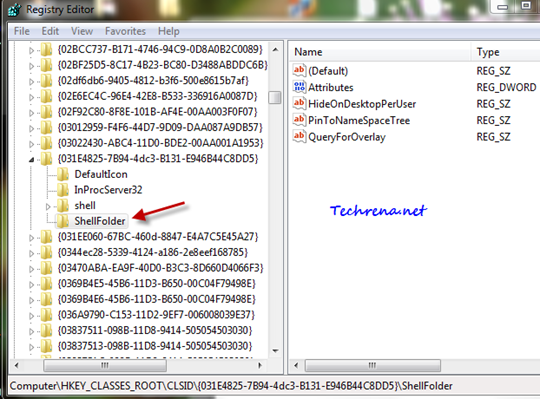
HKEY_CLASSES_ROOT\CLSID\{031E4825-7B94-4DC3-B131-E946B44C8DD5}\ShellFolder
3. You need special permissions to change the values inside this folder. To get permissions, right-click on the “ShellFolder” and click Permissions.
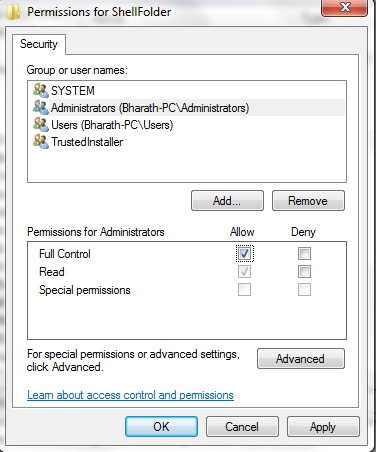
4. In the next step, check under the Allow option right next to Full Control for the user name “Administrators”. Click OK to close the window and you would be back in your Registry Editor.
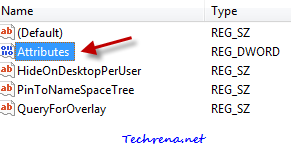
5. Double click on the Attributes registry DWORD.
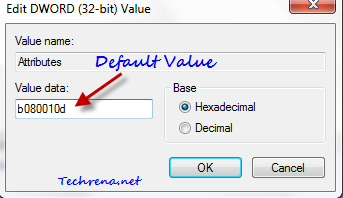
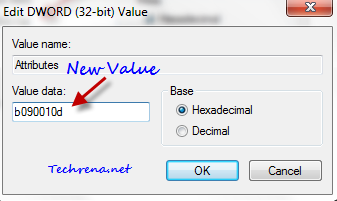
6. Change its value data from the default b080010d to a new value: b090010d.
7. Click OK to save the changes and close the Registry Editor.
8. Open the Task Manager, go to Processes tab, end the process explorer.exe. All your active explorer windows will now be closed.
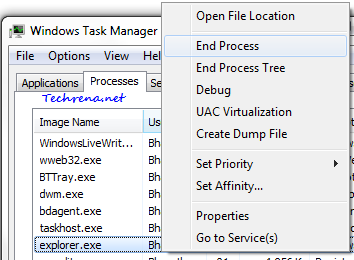
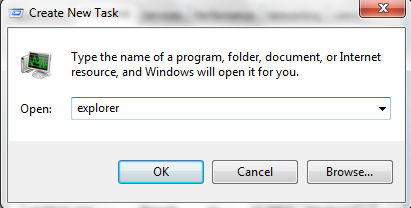
9. Go to File > New Task (Run..) in the Task Manager and type explorer to run the explorer.exe again.
Now you would find that the “Libraries” link from the Navigation pane disappeared as shown.
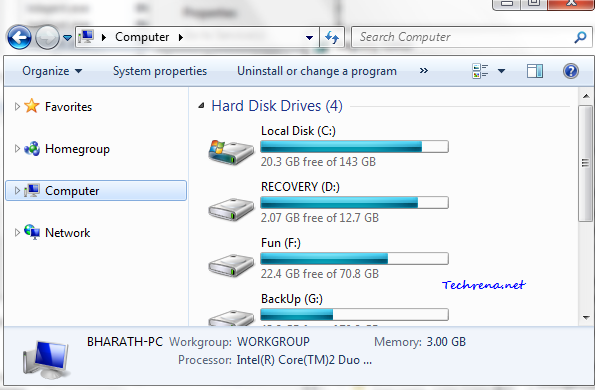
If you want to get it back, just go back to the step 6 and change the value data back to the default b080010d .
Method II: The Easy Way
If you don’t want to go through all the above hassles, we have a much simpler solution for you. Just download the following file:
Once you download the above .reg file, right-click on it and choose “merge” and that’s it, restart the explorer by following the step 8 and step 9 and you will no longer see the Libraries in the Navigation pane.
To get back the Libraries into your Windows 7 explorer, download the following file,
Right-click on it and select merge. The Libraries will again start to appear once you restart the explorer.

Please, please remove or dis-allow advertisments for RUN A FREE SCAN. You like hindreds of other web sites have the same offer. This offer is the most dangerous thing you can do. The reason is how does a user know they are on your actual web site, I have seen several hundred other similar offers. Consider the following
1. How does a user know they are on your web site and not a copy of your web site.
2. Scammers will frequently copy whole web sites to replace the RUN A FREE SCAN with their own.
3. With their own free scan they have FULL access to a users computer, memory, registry and all email sdresses both in and out,
4. With registry access they can obtain the registration details of every application installed on the computer.
5. The web sites that offer very cheap software use serial numbers and registration details obtained in this manner predominately out of Russia or Russian Federations.
6. No-one should EVER run a FREE SCAN because they NEVER know WHO IS DOING THE SCAN
7. Tell users they can run their own scan with a product like Nortons, you could even offer it at a special discount price. But don’t buy the Nortons from a cheap Russian site.
Regards
Brian