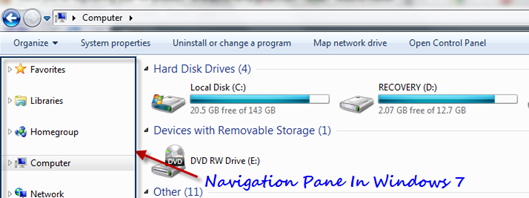
Windows explorer in Windows 7 looks great, showing the drives and other devices on the most prominent right side pane and quick links to important locations on your computer in a relatively thinner pane, known as “Navigation Pane”. This Navigation Pane contains the following icons in general:
- Favorites
- Libraries
- Homegroup
- Computer
- Network
While it is highly handy to have quick access to different locations through this navigation pane, there are few people who might like the Windows 95 version of the Windows Explorer, where we don’t have such a pane in the left sidebar. Follow the steps mentioned below to disable or enable the navigation pane in your Windows 7.
Steps:
1. Open any Windows explorer window (or use Start button + E shortcut).
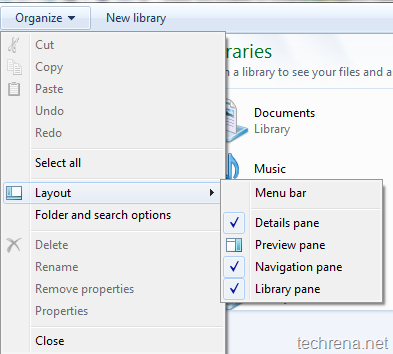
2. Click on Organize dropdown menu button. Expand “Layout” options as shown:

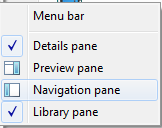
3. To disable the Navigation pane, deselect the “Navigation pane” option from the list as shown:

4. And once you have done that, the Windows 7 Navigation pane would be disabled (or hidden):

To enable the Navigation pane again, just check the “Navigation pane” option in the step 3.

