HomeGroup is a new feature introduced in Windows 7 to share music, files and others between two or more Windows 7 computers through the network. But if you don’t have any other Windows 7 in your local network, then you cannot use “HomeGroup” feature. You might want to disable the HomeGroup feature in such scenarios to save some resources that are currently being used for running HomeGroup services.
Here is a step-by-step guide on how to disable the HomeGroup feature in Windows 7.
Steps:
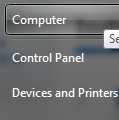
1. Open Start menu and click on “Computer”.
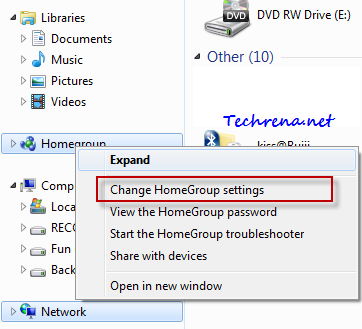
2. Right-click on “Homegroup” icon/link found in the side navigation bar.
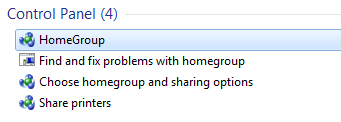
Alternatively, type “homegroup” (without quotes) in the Start menu and click “HomeGroup” item from the results under “Control Panel”.
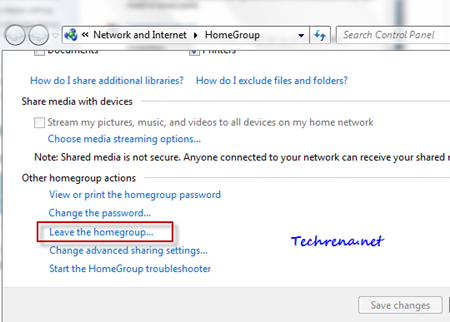
3. Click on “Leave the homegroup..” found under “Other homegroup actions”.
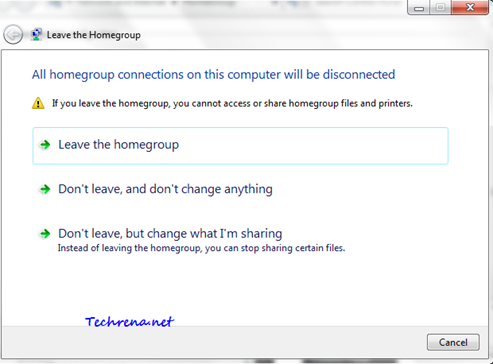
4. In the Leave Homegroup confirmation window, select the first option “Leave the homegroup”
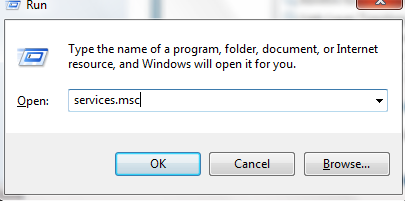
5. Press Start button + R to open RUN tool and type “services.msc” in the filed and press OK.
6. Locate HomeGroup Provider and HomeGroup Listener in the services list.
7. Right-click on each of them and select Properties . Choose Disabled from the dropdown next to the Startup Type.

8. Click Apply and then press OK to save and close the settings. Exit the Services and reboot your PC.
Now you have successfully removed HomeGroup feature and its processes in your Windows 7. If you check any explorer window after rebooting it, you will find that the “Homegroup” icon is gone as shown.
![]()
