Have you ever faced any problem like ntldr file missing during the start up of Windows XP? During the cases of critical Windows file gone missing or corrupt, Windows will not Boot and hence cannot start. What will you do in such case where your data is at stake?
There may be many solutions available, but repairing Windows using the Windows XP setup CD will be the best. In repair install your data will be intact and no data loss will occur if everything goes right.
If you install a new copy of Windows then some of your data will be lost.
What is Windows XP repair Install?
In Repair install, all the Windows files and registries will be copied to your Hard drive from the Windows XP installation CD. The installed program files and personal data on your hard drive will not be affected in most cases.
How to perform Windows XP repair Install?
Requirements:
Your Windows XP installation CD and key
Follow the steps below:
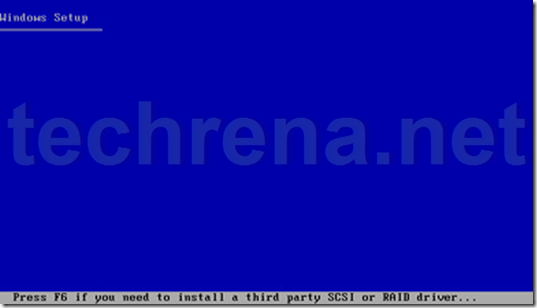
1. Insert the Windows XP CD to your Optical Drive and Start your computer.
Make sure that the computer boots from the installation CD. If it is not booting from the CD try changing your boot options in the BIOS.
While booting from the CD, press any key to start the process.
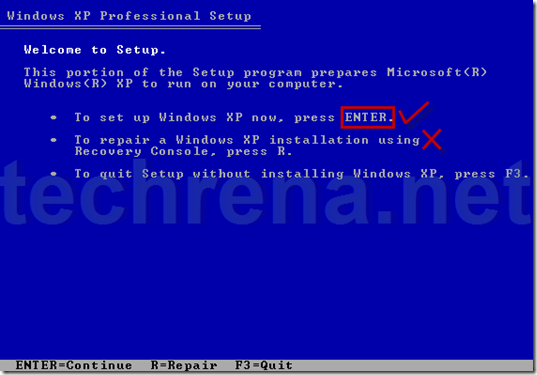
2. Press ENTER to set up Windows XP.
Do not press R. It will start, Recovery Console which is not desirable.
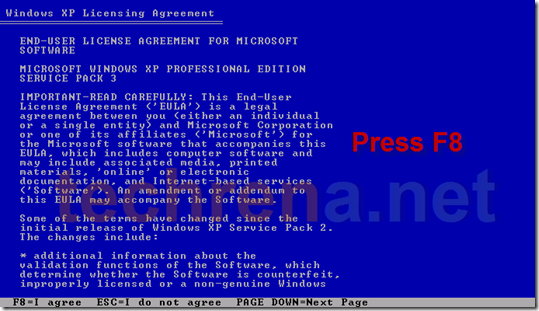
3. Press F8 to Agree the License Agreement.
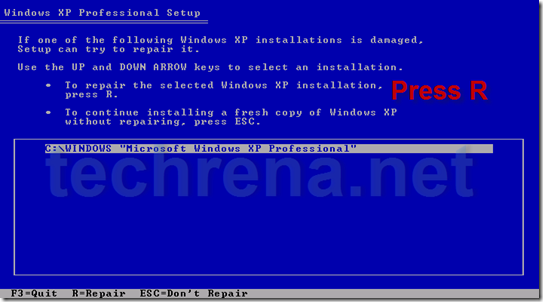
4. Press R to start the recovery install
Select the currently installed Windows XP location which you want to repair. Press R to repair the installation.
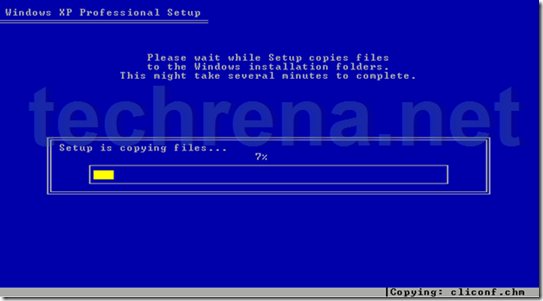
Now it will copy the files.
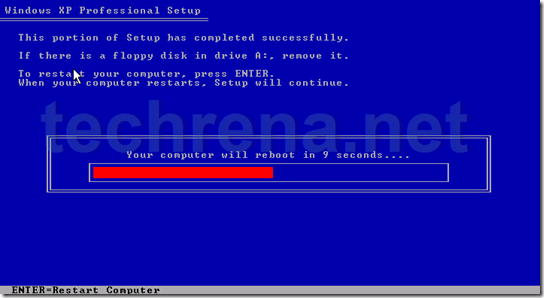
5. Press ENTER to reboot or else wait until it reboots by itself
Setup will continue after restart.
6. Do not boot from the CD after start up
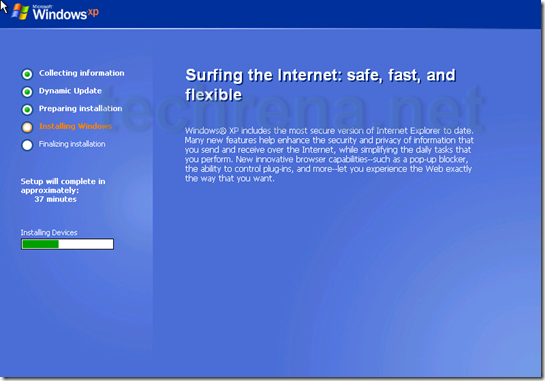
After booting up from your hard drive it will continue installation. Follow the normal installation process.
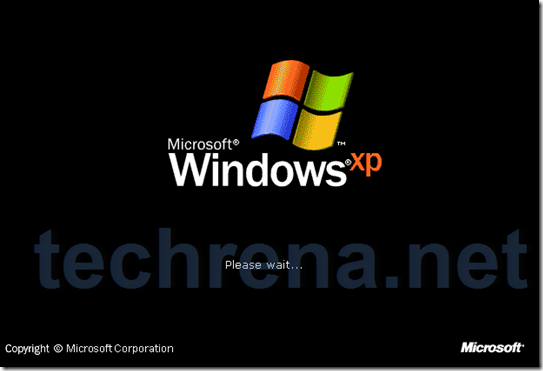
After successful installation, your computer will restart once again. It may take some time during the first startup.
Now your desktop should be accessible. In case of any problem do leave a comment.
You can subscribe to our RSS feed via email for more tutorials under Windows.


