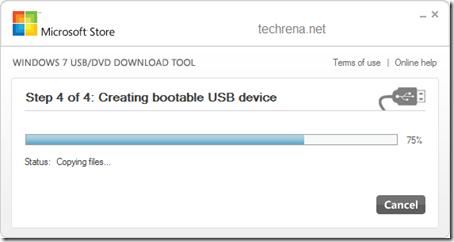
Installing an Operating System (OS) is not a very easy thing. Why? Because an OS deals directly with your computer hardware which is completely useless without a working OS. Another thing is OS installation needs to deal with your existing data in your hard drive. You need to format a drive partition for new OS installation, which is critical because your sensitive data may be lots in the process.
So in order to help you, you can just make yourself familiar with the whole installation process before actually starting the real installation. The process explained here is applicable to all the editions of Windows 7 for example, Windows 7 Ultimate, Home, Professional etc.
Before beginning the installation process decide in which partition you want to install the OS. Please back up all the critical data from the drive in which you want to install Windows 7. This tutorial is made for a fresh Windows 7 installation.
System Requirements:
1 gigahertz (GHz) or faster 32-bit (x86) or 64-bit (x64) processor
1 gigabyte (GB) RAM (32-bit) or 2 GB RAM (64-bit)
16 GB available hard disk space (32-bit) or 20 GB (64-bit)
DirectX 9 graphics device with WDDM 1.0 or higher driverNote: We have tried installing Windows 7 in a 32-bit computer with just 512 MB RAM and it worked.
Carefully follow the step by step guide below. Click on the Screen shots to enlarge it.
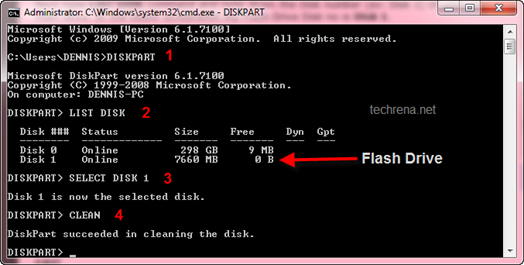
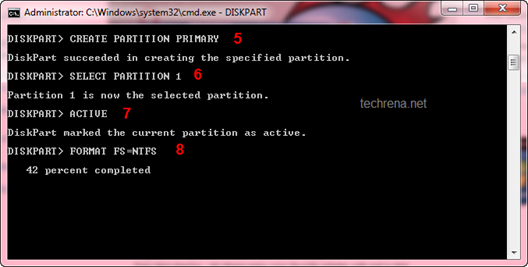
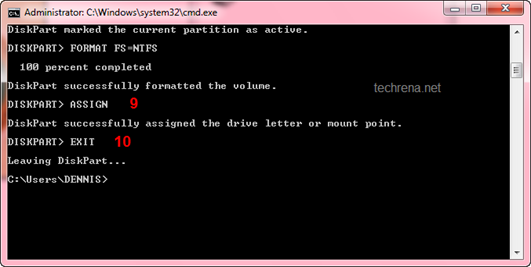
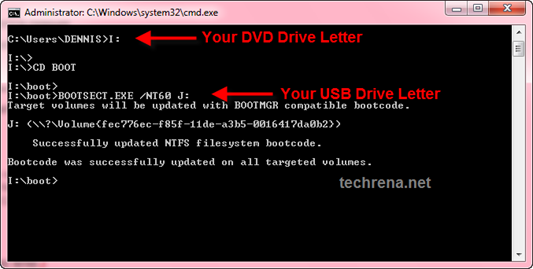
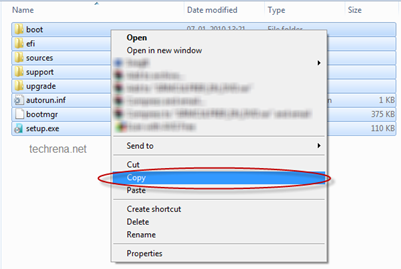
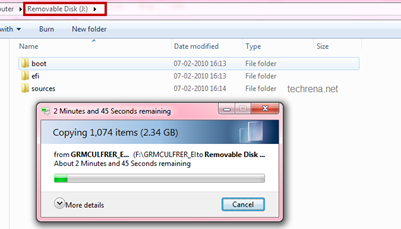
Step 1: Insert to source of the Windows 7 installation to your computer(Powered Off). The source may be the Windows 7 installation DVD or a USB flash drive. If you want to install Windows 7 in a netbook then you need a flash drive.
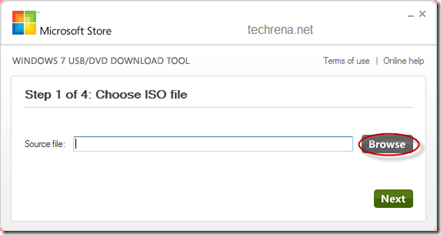
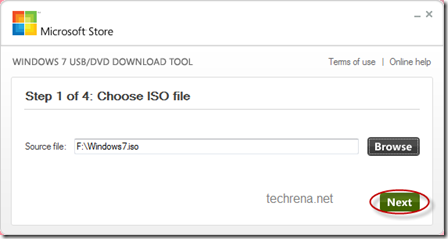
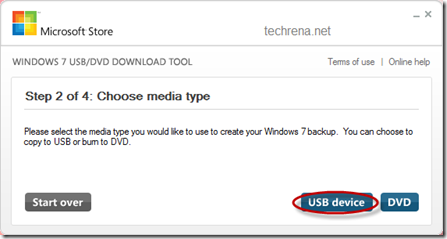
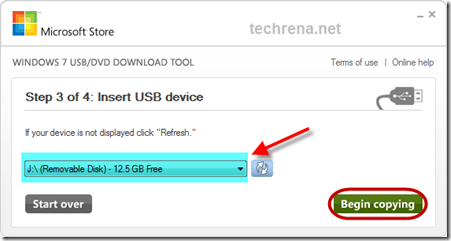
If you need a Flash drive installation of windows 7 Click here
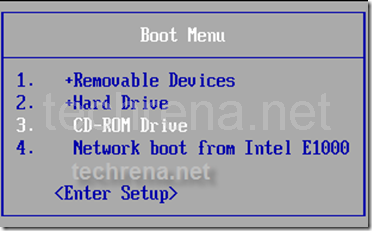
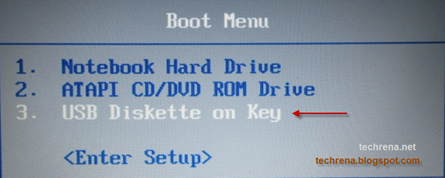
Step 2: Turn on your computer. Press the Boot menu key. (Usually Boot Menu key is the Esc Key). Select your source. If DVD then select CD-DVD Drive, flash drive then Select USB Removable Drive.
If it will shows Press any key to Boot, then press any key on your keyboard.
Now it will load the files and Windows will start.
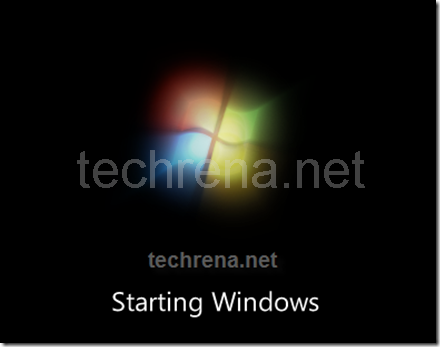

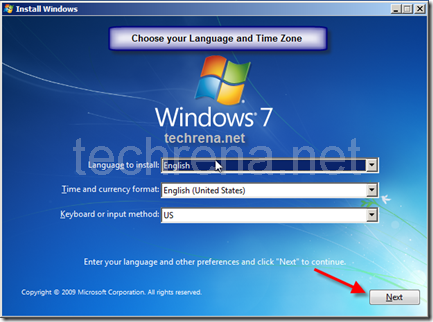
Step 3: Now select the language, time and Keyboard format. Click Next.
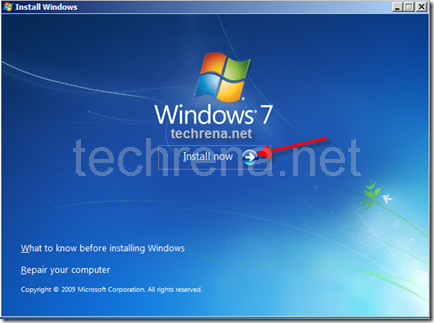
Click on Install Now.
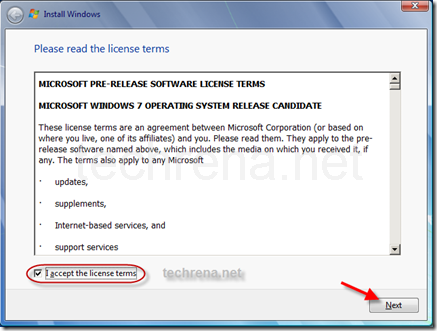
Step 4: Accept the license agreement and Click on Next.
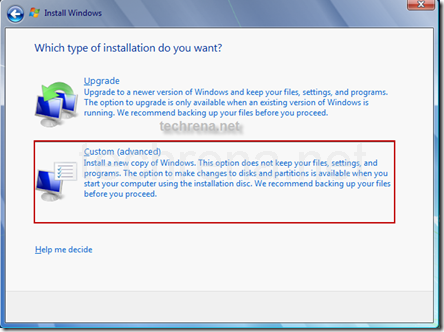
Step 5: This is a critical step. Upgrade needs to be selected if you want to keep your programs and files and upgrade to Windows 7. In a fresh installation you have to select Custom (advanced).
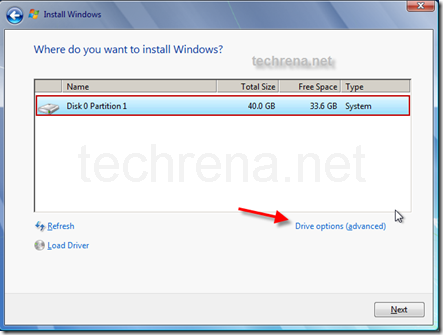
Step 6: Formatting a Hard drive partition to install Windows 7. You need to select and format the partition. You may have mare than one partition but select the one in which you want to install Windows 7. Click on Drive options to format.
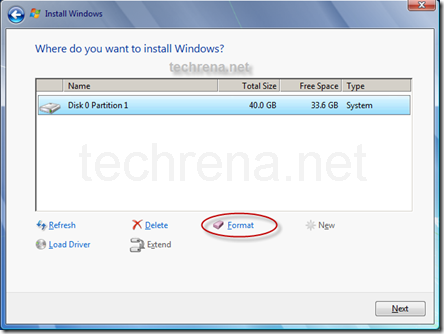
Select the Partition you want to format and Click on Format.
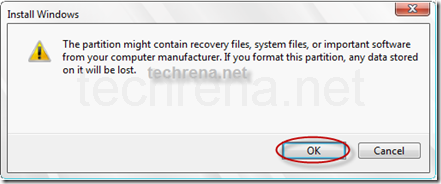
It will ask for a confirmation. Click OK to confirm format. Once format is done, Click Next.
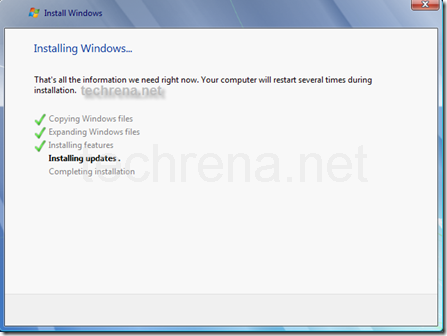
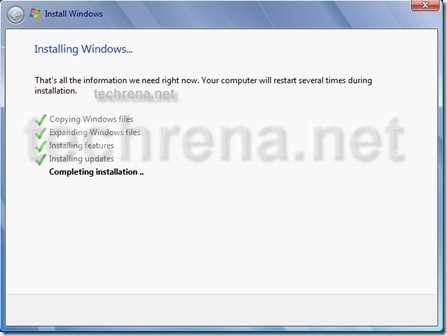
Now the Installation process starts. It may take a few minutes. The time taken varies according to your CPU and the source you are installing from(either USB or DVD). USB drive is faster.
After Installing Updates the computer will restart.
Important Note: Please make sure that from this time onwards it boots from your Hard Drive.

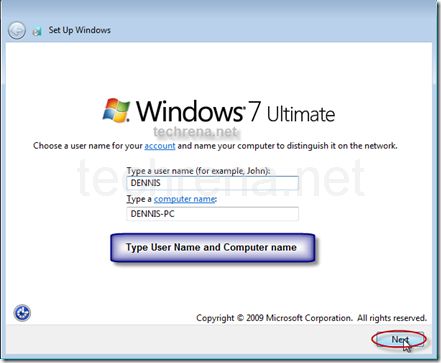
Step 7: Type the user name and Computer Name. Click Next.
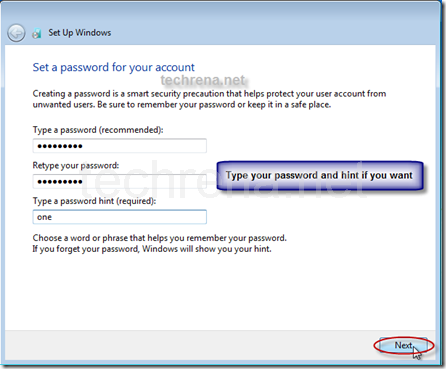
If you want you can set the password for the username. Make sure that you remember the password.
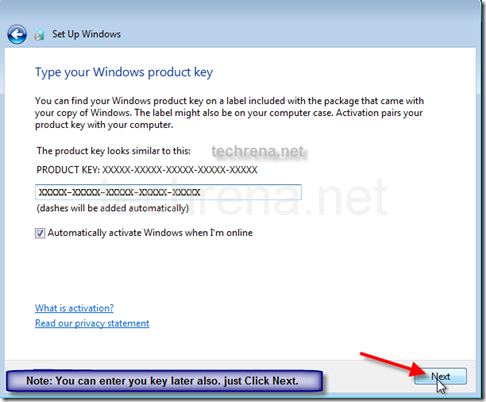
Step 8: Type your Windows 7 Product Key. This is an optional step. You can enter the key later also. If you want to do it later just leave the field blank and Click Next.
Note: Check Automatically activate Windows when I’m online if you want to activate the Windows by itself. If you want to do it manually, then uncheck it. Activation of Windows online is mandatory for Windows 7.
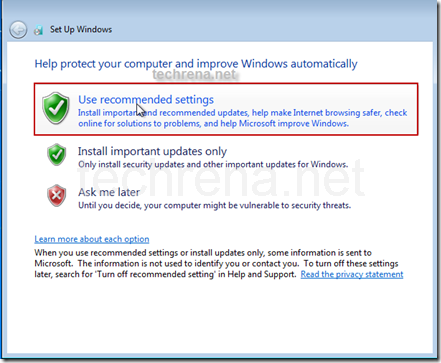
Step 9: You can select Use recommended settings. If you have a WLAN adapter, then it will ask you to select you network. Select one if you have a network.
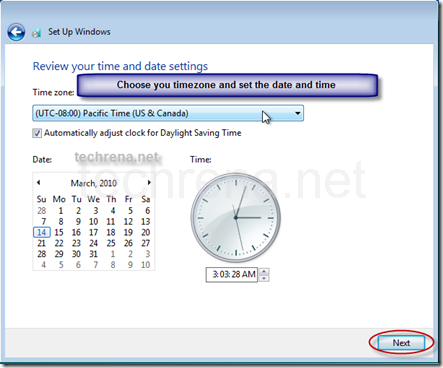
Step 10: Set the time and date. Click Next.
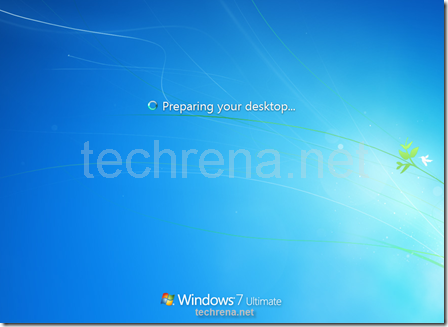
Now Windows will restart the computer, update your settings and prepare for the first use.
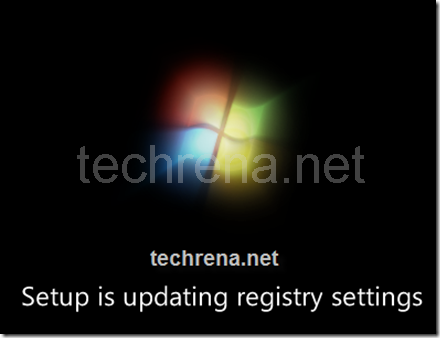

Now you have successfully installed Windows 7. If you have any doubt please leave a comment. We will reply to you shortly.
You may fine the below posts interesting:
Boot And Install Windows 7 from USB Flash Drive (Pen Drive)
Install Windows XP Virtual PC in Windows 7 Using VMware Player

