[Tip] How To Activate Facebook Timeline

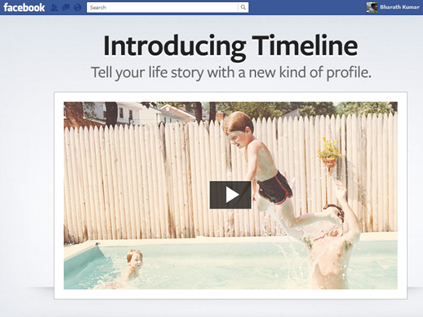
Facebook timeline ad

Facebook has launched a new feature called Facebook Timeline, which is basically portrayal of your entire activity on the Facebook in a chronological order. This is pretty much different from the regular  profile view and offers a new and interesting insight into what you have been up to on the Facebook.

Sadly, Facebook hasn’t enabled this feature for all the users right now. However, the feature has already been activated for the open graph developers. If you are a normal user like me on the Facebook, you may have to wait a few more weeks to get this feature enabled for your account. But if you are curious enough to get it immediately, TechCrunch has come to your rescue.

As there is no direct way of enabling this feature right now for your profile, we’ll have to use the workaround suggested by Greg Kumparak. The process involves enabling developer mode and creating a dummy developer app which will be accessible only to you. Though the entire process isn’t a single button-click-enable thing, but yes, it is very straightforward indeed. All you need to do is to follow the steps briefed below:

Steps:

1. Login to Facebook with your credentials.

2. Type “developer” in the search box and hit the first result (Developer, type: App) under the Apps section.
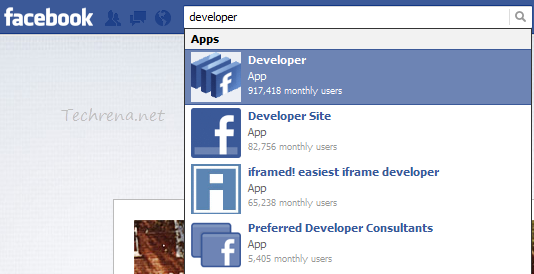
Facebook Developer app search

3. Click the “Create New App” button on the right corner of your screen.
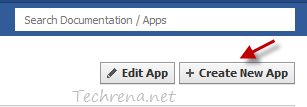
Create-new-app-Facebook-Developer-app

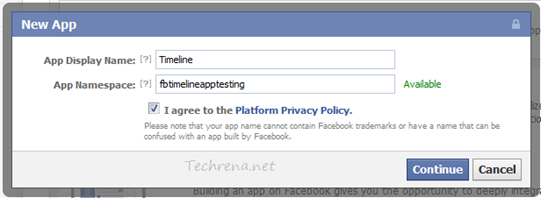
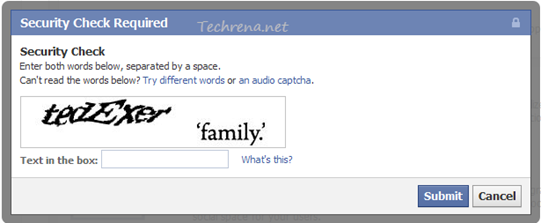
4. Choose a display name and namespace for your new app. Keep in mind that the chosen namespace should be unique and is subject to availability (Don’t use words like ‘Facebook’ or ‘FB’ in the App Display Name as they are not allowed). Read and agree to the Facebook Platform Policies and click Continue, complete the security check to proceed to the next step.

Facebook Developer new app parameters

Facebook new Dev app security check

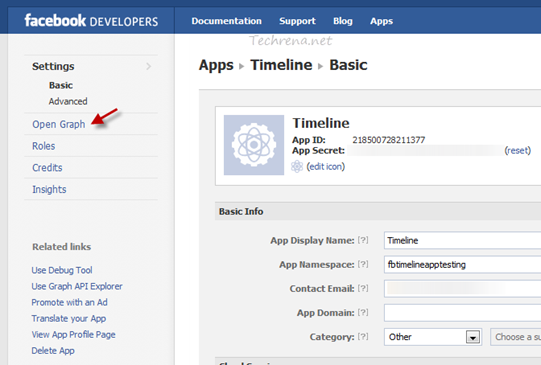
5. Now you will be taken to the ‘Basic Settings’ page for the app. Look for “Open Graph” link on the left sidebar and click on it.

Facebook developers new app Open Graph Link

6. You will be then asked to edit the action properties followed by object type settings and another page to create an aggregation. Just keep the default values and in each one and proceed to the next step.

7. Now open the Facebook homepage and you will then notice an invitation to access Timeline.

8. You are done.
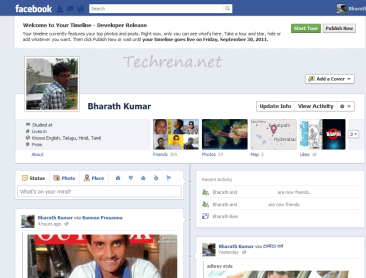
Facebook timeline screenshot

Facebook Timeline Start Tour or Publish now

Your Facebook’s Timeline right now will appear only to you. You can always click the “Publish Now” button or wait for a week’s time for your timeline to go live. You cal also access your timeline by pasting the following URL on your browser:  http://www.facebook.com/username?sk=timeline.

Changing Google Chrome’s Default Search From Regional Google To Google.com

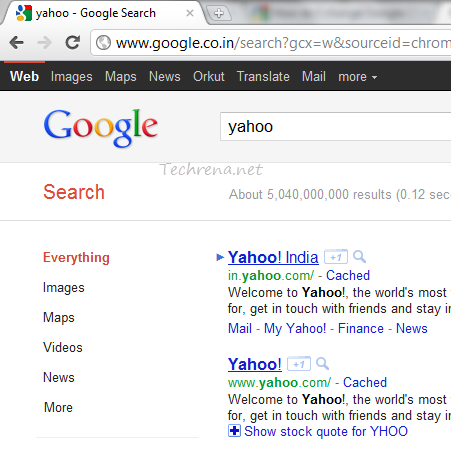
If you use Google Chrome much and love searching right from the address bar, you might be knowing that any search you perform from the address bar will take you to a regional Google search like Google.co.in or Google.co.uk etc.

Google Chrome Addess bar Search regional

In case you want the search results from the more generic version of the Google (i.e google.com) and are looking to change the settings so as to reflect the same in the Google Chrome’s address bar default search, here are the steps you need to follow:


Steps:

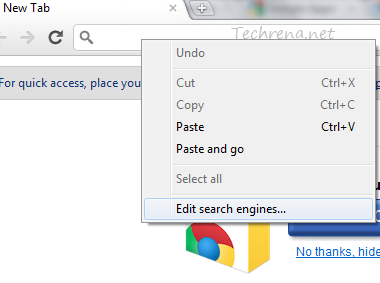
1. Right click on the address bar and choose “Edit Search Engines”.

Google Chrome Edit Search Engines

Alternatively you can access the search engines settings by typing the following URL in the address bar:

chrome://settings/searchEngines

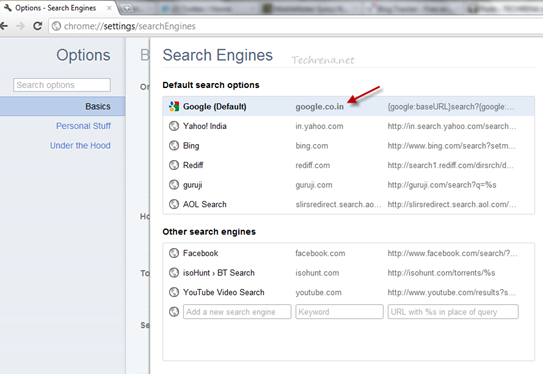
2. You will notice that the regional version of the Google search engine has been set as your default search engine under the ‘Default Search Options’ as shown in the following screenshot.

Google Chrome Search Engines list

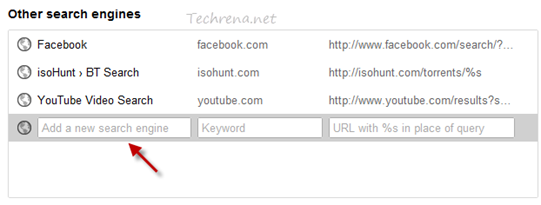
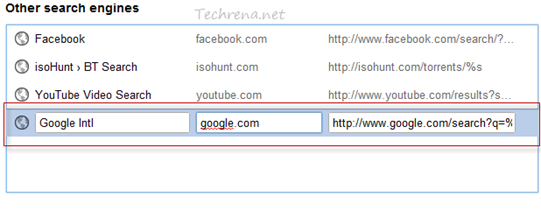
3. We need to add a new custom search engine (in our case the international version of the Google) and then make it the default search engine.

Google Chrome add a search engine

To do that type the name of your new search engine in the empty box and then type the keyword (There are no rules in filling these two boxes). That now leaves you with the URL box which holds the key. As we need a international version of the Google to serve us, key in this value (and hit Enter):

http://www.google.com/search?q=%s


Google Chrome Search Engines add new Google

4. Now that we have added a new search engine, we are now left with making it the default search engine. Hover your mouse over the newly added search engine and you will now see an “Make default” option right next to the search engine entry. Click the ‘Make default‘ button as shown in the screenshot:

Google Chrome Search engines newly added


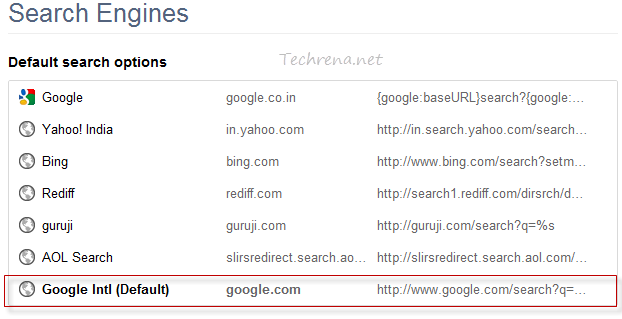
5. You will now notice that your newly created search engine has been made the default search engine and is found under the ‘Default Search Options’ listing.

Google Chrome Search Engines new default search options

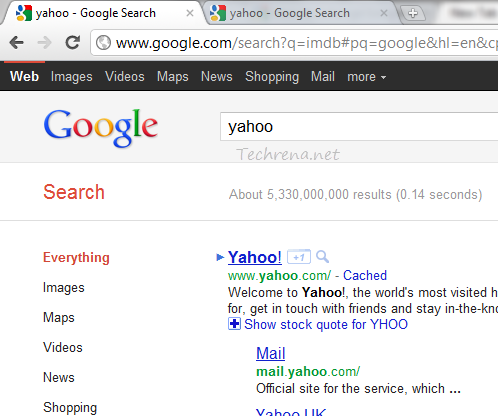
6. You have successfully changed the default search engine of your Google Chrome and you might want to test it.

Google-Chrome-Addess-bar-Search-international

Perfect! Isn’t it?