Create A Facebook Page For Your Website [How To]

facebook_logo

Facebook is undoubtedly the no.1 social networking site in the world.According to Alexa data, it’s next only to Google.It is very much true that majority of the traffic to the most of websites on the internet comes through Google mainly.Similar it is always essential for the website owners to look at sites like Facebook also as traffic sources for their blogs, provided they offer pretty good lovable content that the users on the Facebook like to read.Facebook has made it easier for all the webmasters to integrate Facebook into their sites easier courtesy the Facebook “Like”.

If you are a webmaster the you may be want to know how to create a Facebook page for your website or blog.So we are coming up with thus tutorial that will guide you to create a page for your site in Facebook in 10 simple steps.

Steps:

#1. Go to Facebook.com and login with your ID.If you don’t have an account yet, you must be living in another world, just come back to our world and signup for Facebook now.

#2. Go to Facebook create new page link.

#3. You will now find 3 options:

  • Local business
  • Brand, product, or organization
  • Artist, band, or public figure

Choose the 2nd option, and select “Website” from the drop-down menu.

#4. Give your page a name and click “Create Official Page”.

#5. Now you have created a simple page which is just having name nothing else.So we need to start editing the info about your website.

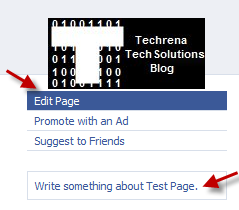
#6. Add a picture to your website page and edit other information as well from the Info tab.

Change facebook page picture
edit facebook page

#7. Go to page settings> find a section Notes under Applications.Click on Notes to open and edit notes.
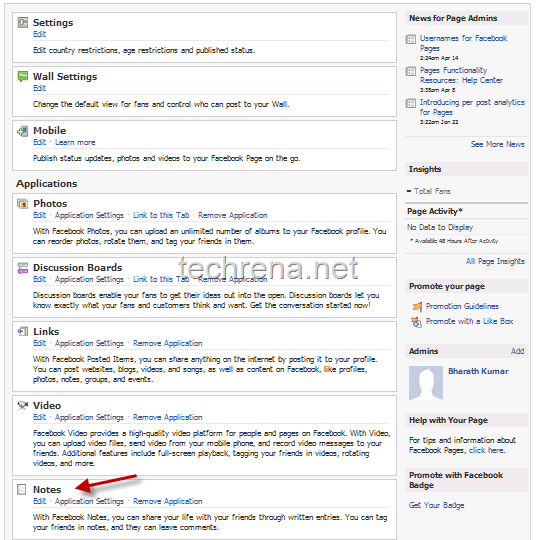
Notes in Facebook page settings

#8. Under the Notes settings, click on Import a blog.
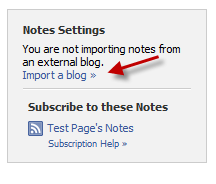
Notes settings in facebook page

Enter your blog URL in the Web URL field (you can even enter your blog’s RSS feed address) and click Start Importing.
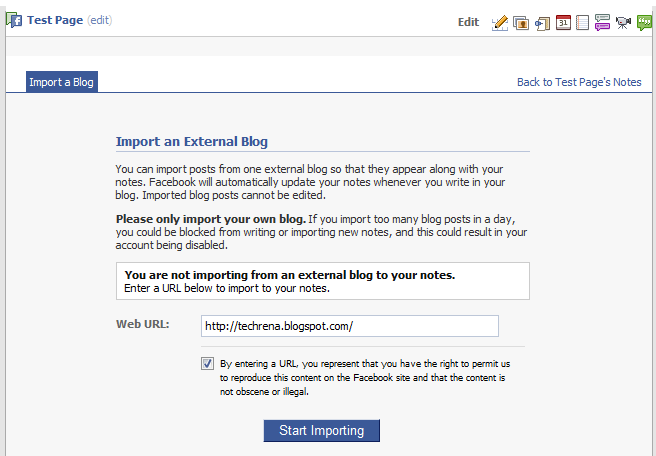
Import a blog in Notes settings in Facebook page

#9. Now you will be shown the preview of the imported blog.Click Confirm Import to finish this step.

Facebook page blog import preview

#10. Now you are done with creating a page for your blog.You can also click on “Write Something about your page” link as shown in step #6 to write a brief introduction to your site page.Now your page looks like this, add yourself to the Facebook page by clicking the Like button.
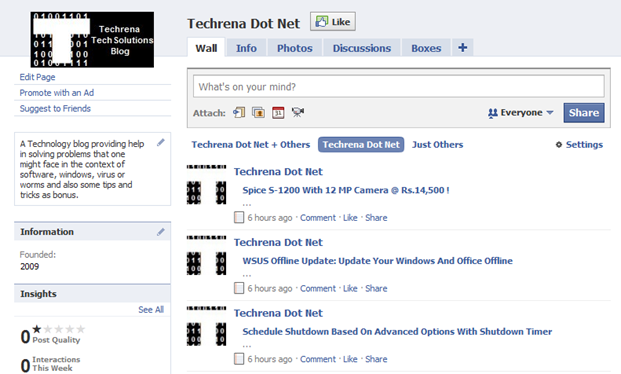
techrena.net facebook page

May be you should also start following our blog in Facebook by clicking the Like button or by visiting Techrena Dot Net Facebook page.

Find Techrena.net On Facebook, Twitter & Google Buzz

techrena logo

Ever since we have launched this blog, we have been striving continuously striving to helping you out in your day-to-day computer and internet use.We have recently celebrated first birthday anniversary of techrena.net jubilantly on March 27, 2010 at Hyderabad.

As we grow our blog, it’s our first priority to make it easy for our readers to connect with our blog in all possible ways.You can either subscribe to our RSS Feed (or receive via email), you can follow Techrena on Twitter or on FriendFeed or on Google Buzz.

If that isn’t enough for you, we have just created a Facebook page, adding which to your profile makes it much easier to connect to Techrena.net directly from your Facebook profile.Just click on the “Like” button that you see on our Facebook and you are good go to.Alternatively you can also find a Facebook Like Box apperaing on the sidebar, where you can find the Like button along with the number of connectors to the site right now.See you all on Facebook !

Pinging Your WordPress Blog To Google Blog Search

wordpress logo

Is new your new WordPress not appearing in Google blog search results? Learn how to include your WordPress blog in Google blog search results.

Google Blog Search Ping Service – The manual way

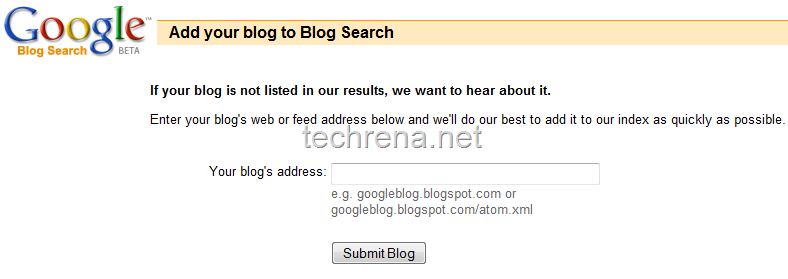
If your blog is relatively new and if it hasn’t been included in Google Blog search yet, then you can notify Google blog search about your blog and get it included in the same by visiting this Google blog search ping service page.You can either enter your blog URL or enter your blog’s feed URL.

Google Blog Search Ping Service

You can also use this Google’s blog ping service to ping your latest posts manually.

Using WordPress Update Services – Automatic:

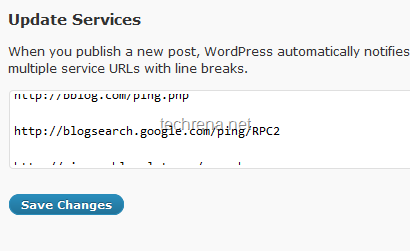
If are usingWordPress platform for your blog, you need not worry bout pinging Google blog search each and every time when you publish a new post to your blog.WordPress has a default “Update Services” where you can add various update services which you want WordPress to ping automatically after each post.You can find Update Services under “Settings> Writing” in your admin dashboard.

You can either choose pingomatic.com pinging which updates multiple services (including Google blog search ping service) and search engines about your blog updates or you can manually add the following Google blog search ping server (which supports XML format) into the WordPress update services:

http://blogsearch.google.com/ping/RPC2

wordpress update services

You may also read more about Google crawling & indexing, also about protecting your WordPress internal files

Configure Google Friend Connect For WordPress Blogs

Google Friend Connect made its debut to WordPress.Google Friend Connect was previously available only to Blogger blogs through a simple gadget (although you can insert in any other non-blogger sites). Now there’s a more simpler way to this for WordPress , thanks to Mauro Gonzalez, Globant who developed this FriendConnect plugin  plugin to extend GFC to WordPress blogs.

He adds in a guest post in Google Social Web blog,

This plugin allows your visitors to authenticate using any OpenID account such as Google, Yahoo, or AIM and then comment on your posts with no need to complete a registration form.

Now, Let’s see how to setup Google Friend Connect for your WordPress blog:

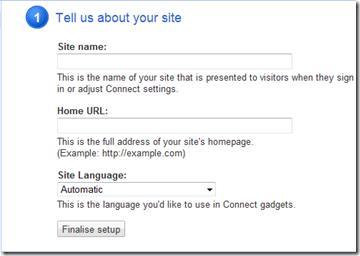
Step 1: Go to google.com/friendconnect and add your new site details

Google Friend connect adding new site

Step 2: Once you have added you blog’s details, find your unique site ID of your site and note it down.

GFC site ID wordpress

Step 3: Download Google Friend Connect  WordPress Plugin and upload it to plugins folder in your WordPress installation.

Step 4: Under Settings in your dashboard visit ‘FriendConnect’ to configure that plugin.

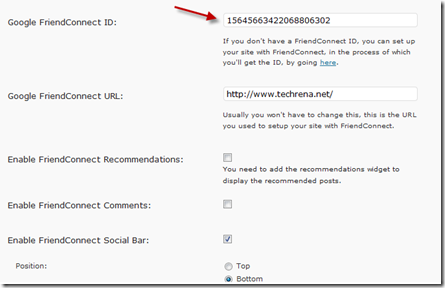
Enter your site ID in the filed Google FriendConnect ID:

Google FriendConnect wp plugin configuration

Step 5: You can customize the GFC using various colour schemes.

Step 6: If you want to add various GFC widgets, visit widgets tab, you’ll find the widgets like

‘GFC Members’, ‘GFC Recommendations’ & ‘GFC Site Wide Comments’

GFC widgets wordpress

you can also try out various possible settings under them to find out which one best suits your blog.