Consider this scenario: You have both wireless network and wired LAN network available at your place and assume that you have enabled your wireless card and connected to the wired LAN network as well. Which one do you think your Windows will choose? Have you ever thought about it?
If you haven’t, here’s what you should know: There is a default priority order (or network binding order) that would be set for each of your network cards. You might not be knowing about this because it’s so hidden in the windows. You can only see it via a “netstat” command or through some advanced settings in the network connections.
Note: All the following operations are done in Windows 7 and they should also work in Windows Vista as well.
Checking Your Network Cards Priority:
Go to Start menu and type “cmd” in the search box and open cmd.exe from the programs list to open the command prompt.

And then type the following command in the window and press enter:
netstat -rn | more

You will now see “Interface List” in the results as shown (click on the image to view the bigger image):

I tried to represent the above result that I got in the command prompt in a text format below:
Interface List

14...00 xx xx xx xx xx ......Bluetooth Device (Personal Area Network)

12...xx xx xx xx xx xx ......Broadcom 802.11b/g WLAN

11...00 xx xx xx xx xx ......Realtek PCIe FE Family Controller

1...........................Software Loopback Interface 1

17...00 00 00 00 00 00 00 e0 Microsoft ISATAP Adapter

19...00 00 00 00 00 00 00 e0 Microsoft ISATAP Adapter #2

15...00 00 00 00 00 00 00 e0 Microsoft 6to4 Adapter

18...00 00 00 00 00 00 00 e0 Microsoft ISATAP Adapter #3

16...00 00 00 00 00 00 00 e0 Microsoft 6to4 Adapter #2

22...00 00 00 00 00 00 00 e0 Teredo Tunneling Pseudo-Interface
As you can see in the above screenshot (highlighted in red), the numbers against the network card interfaces (called “interface metrics”)represent the priority of that network according to Windows. The lower the number, the higher is the priority. In my case Software Loopback 1 (representing Microsoft Loopback adapter) is assigned the highest priority (lowest number #1), followed by Realtek Ethernet adapter (number #11), Wireless LAN adapter (number #12).
So to sum up, my wired network card has been set a higher priority than my wireless network card by Windows. Now let’s assume that my wireless network gives me a faster internet access than what my ISP through the wired network card does. So I’d be keen to connect to the ISP via wireless network card that is offering a faster internet access. But if you are connected to both the wired network & the wireless network, according to the priority assigned, Windows will gives you access to the internet via wired network card by default. So we need to find a way to instruct Windows to let you access the network via wireless network by default, when you are connected to both the wired and wireless networks at the same time. Read on to find out how to do this:
–Warning-: You may not want to change the default priority order unless you see some real problem with how Windows is prioritizing the network interface cards.
Changing Network Cards Priority in Windows:
You can change the network card priority in two ways in Windows:
Method #1:
To start with, I’ll introduce you the easier method first:
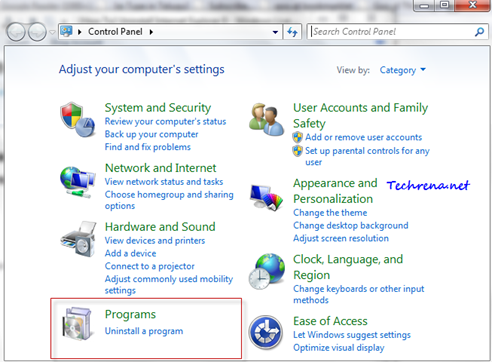
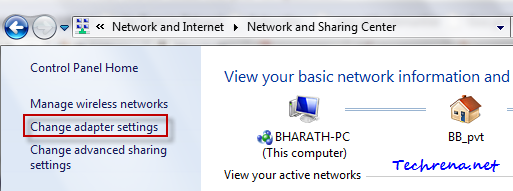
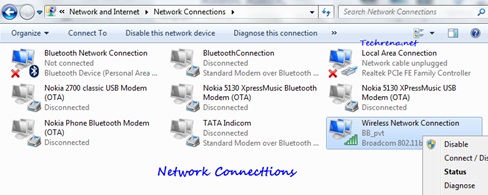
1. Go to Control Panel > Network and Internet (View network status and tasks)> Change adapter settings and now you will now be in “Network Connections” window.
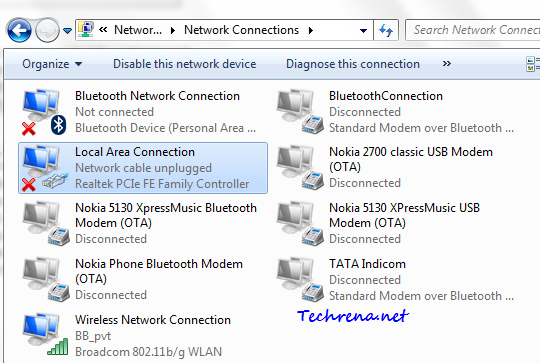
2. Now press Alt button and a hidden menu will appear beneath the location bar.

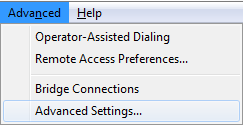
3. Under the Advanced menu, click “Advanced Settings”.
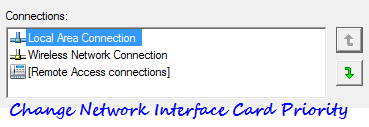
4. You can now see the order of preference in which the connections are accessed by network services.
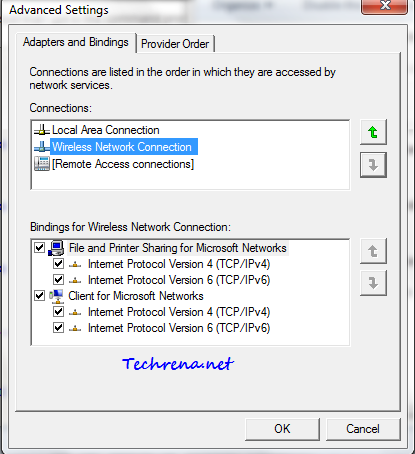
Use “Up” and “Down” buttons to move a network connection either up or down and thus changing the order of priority of connections.
Method #2:
And now let me introduce you the second alternative method, which is a bit laborious when compared to the first one:
1. Go to the “Network Connections” window by following the step 1 as detailed in the above step.
2. Right-click on the network connections for which you want to change the priority order and choose “Properties”. In my case, I wanted to change the interface metric for my wireless network card and hence I will proceed with the changing priority order for Wireless Network Connection under my network connections.
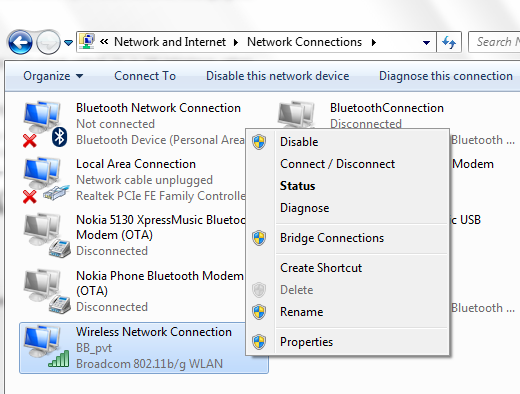
3. Now choose “Internet protocol Version 4 (TCP/IPv4)” and click on “Properties” button.
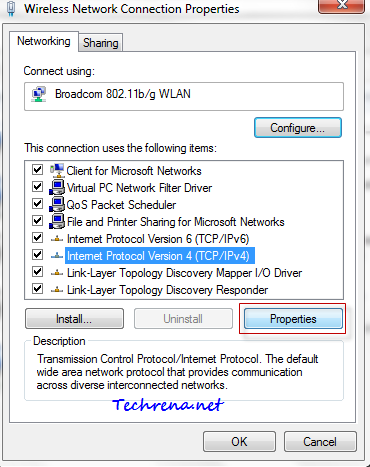
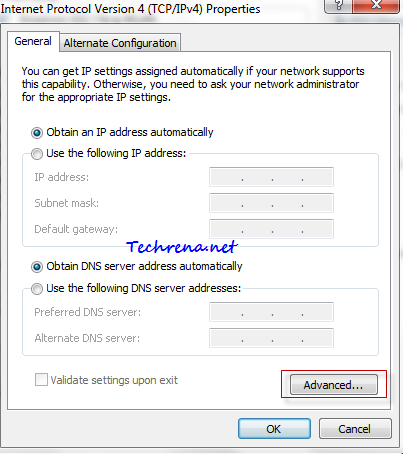
Click on “Advanced..” button in the IPv4 properties window.
4. Look for the “Automatic metric” option in the advanced TCP/IP settings window.
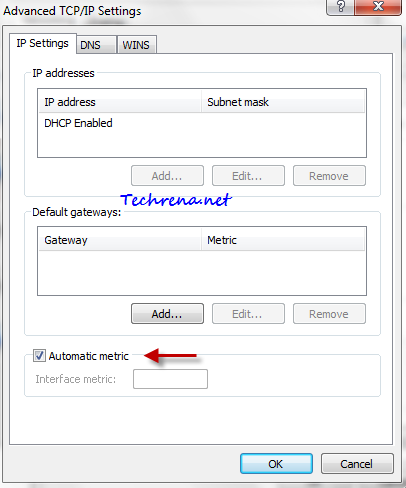
5. Uncheck against the “Automatic metric” option and enter some value other than 1 in the filed against “Interface metric” (as 1 will always be assigned to Microsoft Loopback adapter always) as shown:
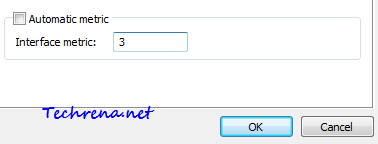
Click OK and close all the windows.
You have now changed the priority of your network card interfaces.

